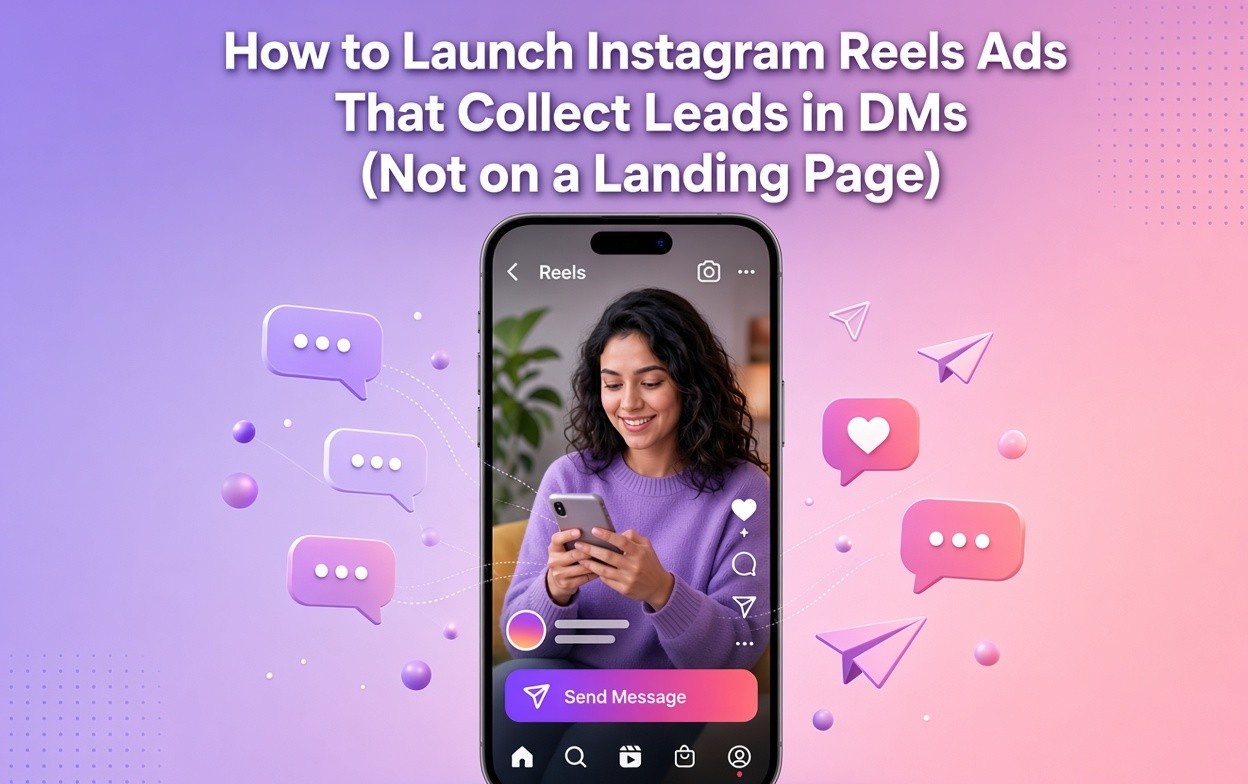
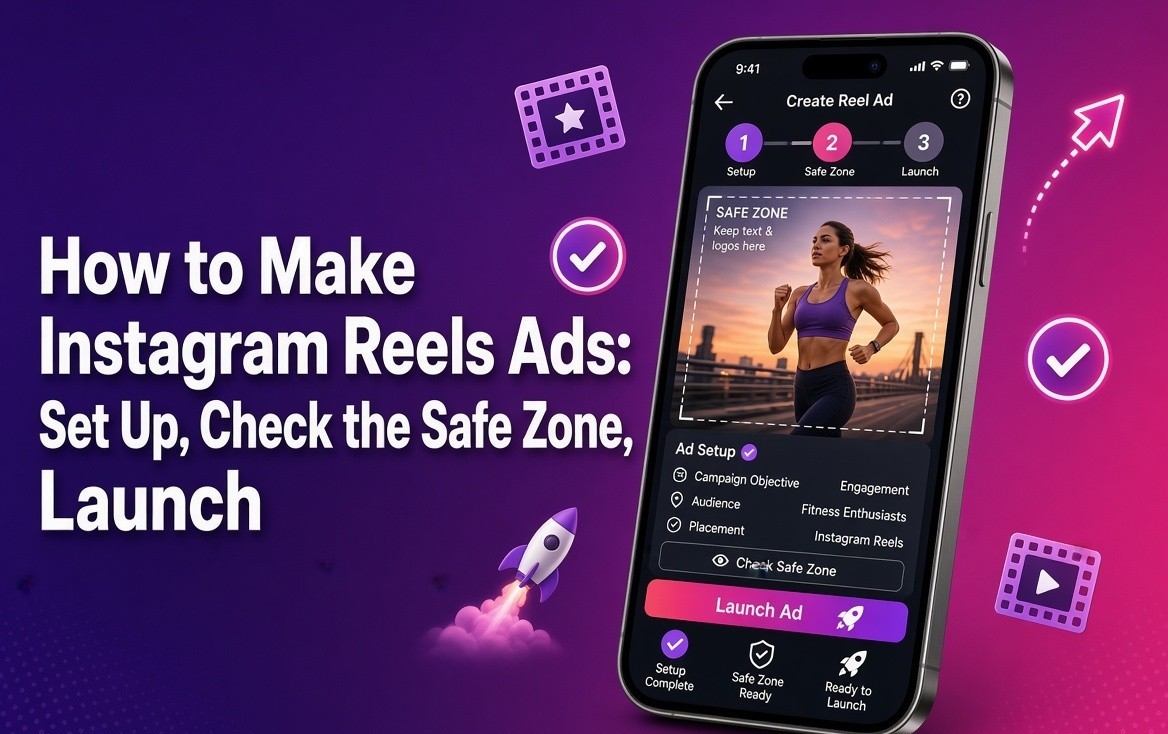
To make an Instagram Reels ad, use a professional account and either boost a vertical Reel in the Instagram app or build the ad in Meta Ads Manager. In Ads Manager, click Create campaign, pick the objective that matches the action you want, and leave Advantage+ placements on if you want Reels included automatically. To force the placement, open Show more settings and tick Instagram Reels. Upload a 9:16 MP4 or MOV. Meta’s recommended frame is 1440×2560. Do not use licensed or trending music. Keep text and logos out of the top 14% and the bottom 35%. Hook in the first 3 seconds, preview the safe zone, then publish.
That is the whole job. The rest of this page is which of the four launch paths to use, the spec that matches Meta’s Ads Guide, the pixel safe zone, the rejection rules, and what to read after the ad is live.
What an Instagram Reels ad is
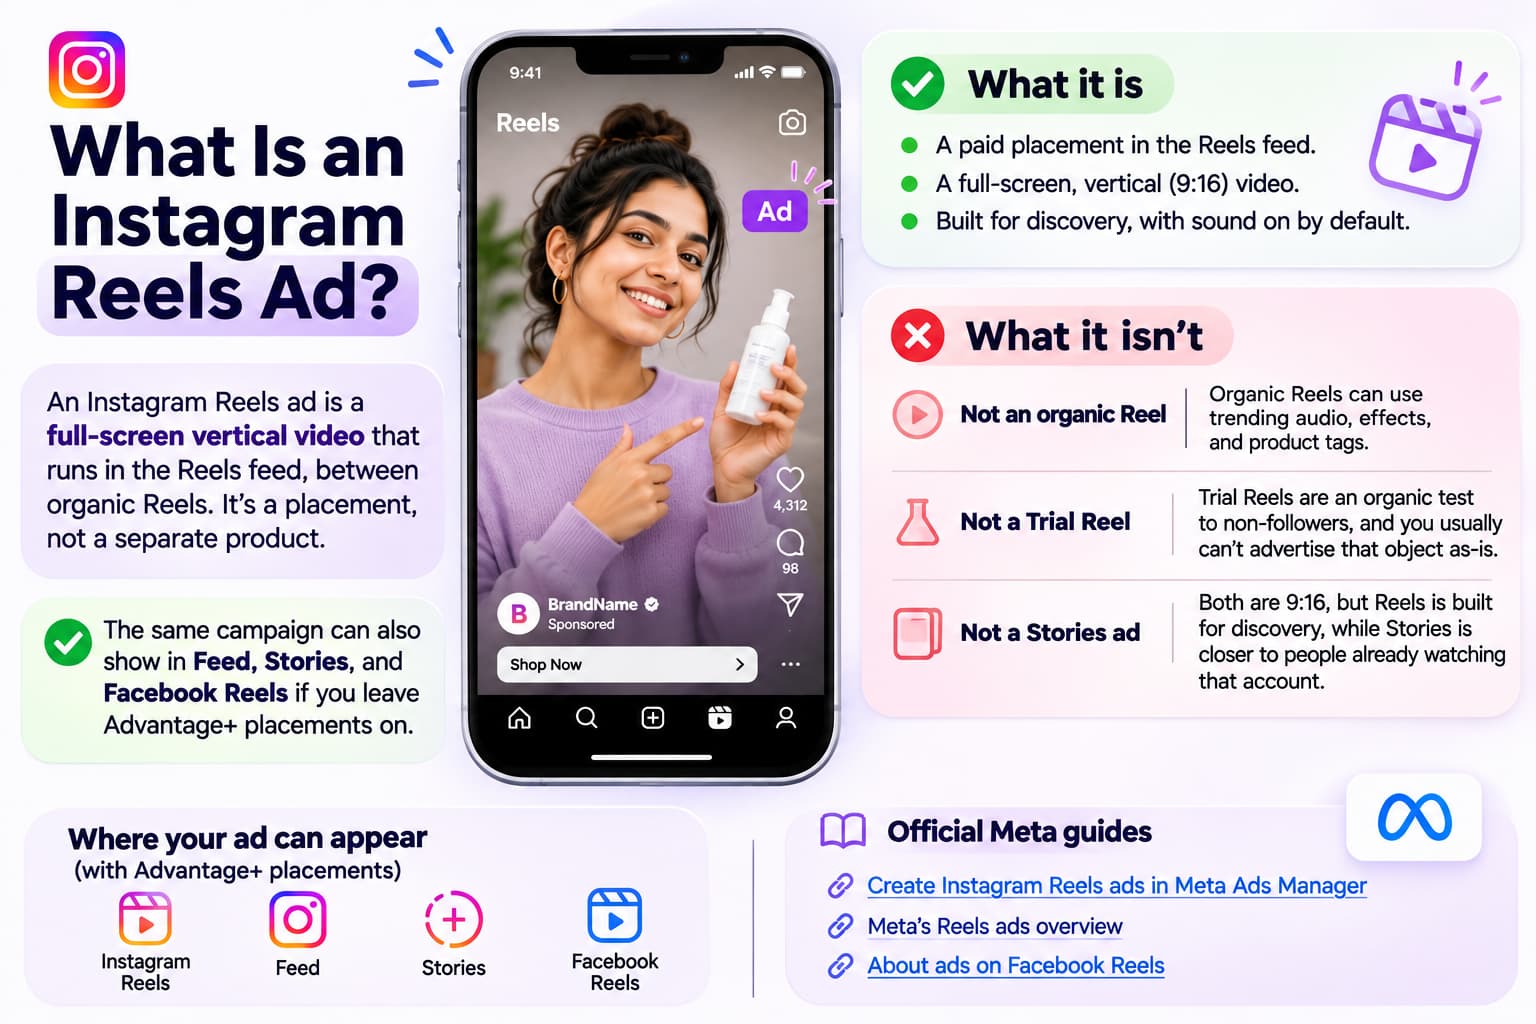
An Instagram Reels ad is a full-screen vertical video that runs in the Reels feed, between organic Reels. It is a placement, not a separate product. The same campaign can also serve Feed, Stories, and Facebook Reels if you leave Advantage+ placements on.
It is not an organic Reel. Organic Reels can use trending audio, effects, and product tags. A paid Reel cannot. It is not a Trial Reel. Trial Reels are an organic test to non-followers, and you usually cannot advertise that object as-is. It is not a Stories ad either, even though both are 9:16. Reels defaults to sound on and is built for discovery. Stories is closer to people already watching that account.
Meta’s setup doc is the source for the campaign path: Create Instagram Reels ads in Meta Ads Manager. The placement overview is on Meta’s Reels ads page. Facebook’s own in-feed Reel placement is a separate surface, covered in About ads on Facebook Reels.
Boost or Ads Manager: the verdict
| Path | Use it when | Do not use it when |
| Boost in the Instagram app | You already have a 9:16 Reel, 90 seconds or under, with cleared audio, and you only need a simple push | You need a sales or leads objective, a Pixel, placement control, or a clean test |
| Promote an existing Reel in Ads Manager | The organic Reel already won, and you want real objectives and tracking | The Reel uses a trending song, effects, a GIF, or product tags |
| New creative in Ads Manager | You are making the ad for the placement, not recycling a post | You have no 9:16 file yet |
| Partnership ad | A creator will run the Reel and has turned on promotion for partners | The creator has not allowed business partners to promote |
Boost is the fast path. Ads Manager is the path that can be measured. If the goal is a sale, a lead, or a test you can read next week, skip Boost.
The four ways to make the ad
1. Boost a Reel in the app
Open the published Reel, tap Boost, pick a goal, an audience, a budget, and a duration. Meta’s steps for that button are in Boost an Instagram Reel. This works only if the account is professional, the file is 9:16, the Reel is 90 seconds or shorter, it has not already run as an ad, and the audio is cleared for commercial use. A personal account cannot promote. A trending song that is not cleared will block the boost or force a swap to non-licensed audio.
Boost hides placement and objective control. It is fine for a one-off push of a Reel that already held attention. It is a bad place to learn if Reels ads work for the business.
2. Promote an existing Reel from Ads Manager
At the ad level, choose Use existing post, then pick the Reel from the Instagram tab. Branded content sits under Partner content, and the creator has to allow business partners to promote. This path keeps the original comments and social proof. It fails for the same creative reasons Boost fails: licensed audio, face or camera effects, GIFs, product tags, or a Reel published before October 15, 2021. The API version of that reuse path is Use posts as ads.
3. Upload a new creative
This is the default for a real campaign. You export a 9:16 file made for the placement, upload it, set primary text, headline, call-to-action button, and destination, then preview Reels before publish. Use this when the organic Reel has the wrong audio, the wrong length, or text sitting in the bottom third. Creative rules for that upload are in Meta’s best practices for Instagram video ads.
4. Partnership ads
A creator posts the Reel. You run it from Ads Manager as partner content. The toggle on their side is Allow business partners to promote. Without that toggle, the Reel will not appear as an option.
What size an Instagram Reels ad should be
The size is 9:16 vertical. Meta’s recommended resolution is 1440×2560 pixels. 1080×1920 is the common export and is accepted. Do not upload a square or a landscape file and expect the placement to look native. Meta may letterbox it or apply an automatic template. Both are worse than a file shot vertical. Organic Feed, grid, and Reel crops are a different job, covered in the Instagram post size guide.
| Spec | Requirement |
| Aspect ratio | 9:16, full screen |
| Recommended resolution | 1440×2560 |
| Accepted working export | 1080×1920 |
| Minimum width | 250 px under 30 seconds; 500 px at 30 seconds or longer |
| File type | MP4 or MOV |
| Video | H.264, fixed frame rate, progressive scan, square pixels |
| Audio | Stereo AAC, 128 kbps or higher |
| Max file size | 4 GB |
| Duration ceiling | Up to 15 minutes |
| Working length | 15–30 seconds |
| Primary text | Write the first 40–50 characters as the line people will see |
The 15-minute ceiling is a file limit, not a recommendation. A Reels ad that is still introducing itself at second 8 is already late. Fifteen to thirty seconds is enough for a hook, one proof, and a call to action. Longer cuts belong in a test against the short cut, not as the first upload.
Primary text on Reels is a short line beside a large video. Put the offer in the first 40–50 characters. A paragraph caption is for Feed. On Reels it is truncated under the interface.
The Instagram Reels ad safe zone
The safe zone is the middle of the frame. Meta’s Reels interface covers the top 14%, the bottom 35%, and about 6% on each side. Profile name, Sponsored label, caption, audio credit, like and comment icons, and the call-to-action button sit on top of the video. Text placed in those bands is not small. It is hidden. The official overlay note is About text overlays and the safe zone for ads in Stories and Reels.
| Keep clear | Share of frame | On 1080×1920 | On 1440×2560 |
| Top | 14% | 269 px | 359 px |
| Bottom | 35% | 672 px | 896 px |
| Each side | 6% | 65 px | 87 px |
| Working area | center band | about 950×979 px | about 1266×1305 px |
On a 1080×1920 export, key text belongs between 269 px and 1,248 px from the top, and between 65 px and 1,015 px from the left edge. Burned-in subtitles do not go at the classic bottom position. That position is inside the 35% band. Place captions in the middle band.
Ads Manager has a Safe Zone Guardrail in the media preview. Turn it on before publish. If the offer, the price, or the face sits in the shaded band, move it. A downloadable Meta safe-zone template in the editor is the other check. Use both. The preview is the one that matches the account you are about to run.
Several 2026 guides still say leave about 20% at the bottom. That number is stale. The current Reels overlay is 35%. A file built to the 20% rule will hide the call to action behind the button row.
Can you use a trending song?
No. An Instagram Reels ad cannot use licensed music. Trending audio, commercial songs, and any track that is not cleared for ads will block the boost or fail review. Use original audio, a voiceover, or royalty-free music from Meta Sound Collection.
Design the ad sound-on. Reels plays sound by default. A muted commercial looks like it was made for Stories and dropped into the wrong placement. Also caption it. Some people still watch with sound off, and the caption is what the safe zone has to hold.
Other rejection rules from Meta’s Reels ads setup notes:
- No face or camera effects on the media.
- No GIFs.
- No product tags on the Reel you are promoting.
- Do not promote a Reel published before October 15, 2021.
- The account has to be professional to boost.
- A Reel that has already run as an ad often cannot be boosted again.
If review fails, check audio first, then effects, then tags, then the date of the original post. Those four cause more rejections than the objective you picked.
How to make the ad in Meta Ads Manager
You need an Instagram professional account, a Facebook Page, and access to Meta Business Suite or Ads Manager. A personal account cannot run this. Switching takes a few minutes: how to create a professional Instagram account.
- Open Meta Ads Manager and click Create campaign.
- Pick the objective closest to the action you want: Awareness, Traffic, Engagement, Leads, App promotion, or Sales. After you pick it, Ads Manager may show a campaign score. That score is a setup prediction, not a result. Apply the recommendations that match the goal and ignore the ones that only add placements you did not want.
- Set budget, schedule, and audience. A daily budget is easier to stop than a lifetime budget while you are still testing. For a first read, $15–20 a day, or about ₹800–1,500 a day, for 7 days is enough to see whether the hook holds. It is not enough to judge a winner if the objective is purchases and the pixel has almost no data.
- Placements. Advantage+ is on by default, and it includes Instagram Reels. Leave it on if the file is a true 9:16 and you want Meta to find the cheaper impression across Reels, Stories, and Feed. To run Reels only, open Show more settings, switch to manual placements, and tick Instagram Reels. Meta still recommends six or more placements when delivery is the goal. Manual Reels-only is for a test, not the default. The position names behind that checkbox are in the placement targeting reference.
- Click Next. At the ad level, confirm the identity is the Instagram account you want on the ad.
- Add the creative. Upload the new file, choose Use existing post, or pick partner content. If you upload, use the 1440×2560 or 1080×1920 MP4. Open the preview and turn on the safe-zone overlay.
- Write the short primary text, add the headline if the placement shows one, pick the call-to-action button, and set the destination. Shop Now, Learn More, Sign Up, and Send Message are different jobs. Match the button to the objective.
- Preview Instagram Reels specifically. Check that the face, the offer, and the captions sit in the center band. Then publish.
Review is often under a few hours and can take up to a day. Do not edit the ad every few hours while it is in review. Each edit can restart it.
Advantage+ or Reels-only
Leave Advantage+ on for the first campaign if the creative is vertical and the goal is the cheapest result. Switch to manual Instagram Reels only when you need to know what Reels itself did. A campaign that mixes Feed, Stories, and Reels cannot answer “did the Reels ad work?” The placement breakdown can, after the fact, but a Reels-only ad set is the cleaner test.
Do not run both at once on a small budget. Split the learning, and neither ad set exits it.
| Choice | Verdict |
| Advantage+ placements | Default. Includes Reels. Use when the file is 9:16 and you want the lower cost. |
| Manual Instagram Reels only | Test only. Use when you need a placement read. Do not run it beside Advantage+ on a small budget. |
| Boost | Simple push of a cleared Reel, 90 seconds or under. No real placement control. |
The creative, in one pass
The file is the ad. Targeting will not save a Reel that looks like a television spot.
Use this timing on a 30-second cut:
- 0–3 seconds: the hook. A claim, a result, or a motion the viewer has not seen in the last three Reels. No logo open.
- 3–10 seconds: the problem in the viewer’s words.
- 10–22 seconds: one proof. A demo, a number, or a customer line. Not three features.
- 22–30 seconds: the action, said and shown. The button has to match the line.
A 15-second cut drops the middle: hook to 2 seconds, proof to 12, action to 15.
Six opens that fit the first 3 seconds:
- Result first: “This cut our reply time from a day to a minute.”
- Call-out: “If you boost Reels and still cannot tell what worked, start here.”
- Contradiction: “The Reel that got the views is the one we did not boost.”
- Demo: hands on the thing, no intro.
- Question the viewer is already asking: “Why did this Reel get rejected?”
- Proof number: “41 orders from one Reel. Here is the cut we ran.”
Shoot vertical. Cropping a horizontal interview throws away the subject and the resolution. Voice or original audio over the first second. Captions in the center band. End on the same action as the button.
Native beats polished on this placement. A clean phone video with a real line outperforms a studio spot that opens on a logo. The placement is sound on, full screen, and one swipe from gone.
What to track after it is live
Do not judge the ad on likes.
| Metric | What it tells you | When to act |
| Hook rate | 3-second views divided by impressions | Under about 25–30% after a few thousand impressions, the open is the problem. Change the first 3 seconds only. |
| Hold rate | How many of the 3-second viewers stay through the body | Hook is fine and hold is weak: the middle is the problem, not the targeting. |
| ThruPlay | A 15-second view, or a completion on a shorter ad | Useful for awareness. Weak as a success metric if the objective is purchases. |
| CTR | Clicks divided by impressions | Falling CTR with a flat hook rate usually means the offer or the button, not the open. |
| Cost per result | Spend divided by the objective event | The only number that ends the test. |
| Frequency | Average times a person saw it | Climbing frequency with rising cost means the creative is tired. Refresh the hook. |
Give a new ad set the learning window. Meta wants about 50 optimization events in 7 days before delivery settles. A $15 day on a purchase campaign will not get there if the product is expensive. In that case, optimize for the closest event you can actually collect, or accept that you are buying a creative read, not a stable cost per purchase.
Kill or change the creative when cost per result is above the number you can pay and the hook rate is weak. Do not fix a weak hook by narrowing the audience. Change the first 3 seconds, keep the body, and run the new file against the old one.
Refresh a winner every 2–4 weeks, or sooner if cost rises and click-through falls while frequency climbs. Rotate the hook. Keep the offer.
A first-week setup you can actually read
This is a test structure, not a scale plan.
- Campaign objective: Sales if the pixel already has purchases. Leads if the offer is a form or a message. Traffic if you only need a click read and you will not pretend it is a sales test.
- Budget: $15–20 a day, or ₹800–1,500 a day, for 7 days.
- One ad set. Advantage+ placements if the file is 9:16. Manual Instagram Reels only if the question is the placement itself.
- Three ads. Same body, three hooks. Not three different offers.
- Do not edit for the first 3–4 days unless a file is rejected.
- On day 5–7, pause the hook with the worst hook rate if it has spent enough to be noisy. Move budget to the other two only after that.
- Stop the campaign if cost per result is still above break-even after the learning window and the hook rate never cleared the mid-20s. The next move is a new open, not a new interest stack.
A smaller daily budget can run. It just cannot answer the question. Under about $10 or ₹500 a day, the campaign often never leaves learning, and the results are a handful of clicks.
Reels, Stories, and Feed are not the same file
| Reels ad | Stories ad | Feed ad | |
| Ratio | 9:16 | 9:16 | 4:5 or 1:1 works better |
| Sound | On by default | Often off | Mixed |
| Who sees it | Heavy on people who do not follow you | Closer to people already watching | Mix of followers and others |
| Best file | Vertical video, voice, captions in the center | Vertical, offer readable with sound off | 4:5 video or image, caption can carry more |
| Wrong move | Logo open, licensed song, text in the bottom 35% | Assuming the Reels file’s bottom caption is visible | Uploading only the 9:16 and hoping the crop is kind |
One 9:16 master can run across Reels and Stories if the safe zone is respected. Feed still wants its own 4:5 crop. Advantage+ will try to adapt a vertical file. A dedicated 4:5 usually looks less cropped.
A pre-publish checklist
- The account is professional, and the Facebook Page linked to it is the Page on the ad.
- The file is 9:16, exported at 1440×2560 or 1080×1920, MP4 or MOV, H.264, AAC stereo at 128 kbps or higher.
- Length is 15–30 seconds unless you are deliberately testing a longer cut against that short cut.
- Audio is original or from Meta Sound Collection. No trending sound, no commercial track, no audio ripped from another Reel.
- No face filter, no camera effect, no GIF, no product tag on the media.
- If you are promoting an old post, it was published on or after October 15, 2021.
- Text, price, logo, and captions sit inside the center band. Top 14% and bottom 35% are clear.
- Safe Zone Guardrail was turned on in the preview, and the Reels placement was checked, not only the Feed placement.
- The first 40–50 characters of primary text say the offer. The button matches the objective.
- The destination loads on a phone.
- Three hook variants are uploaded if this is a test. One offer. Not three offers.
If any row fails, fix the file before you submit it. A rejection costs the learning window, and a resubmit starts review again.
Why ads get rejected, and what to change
Review failures on this placement cluster. The objective is rarely the reason.
Licensed audio. The most common block on a boosted organic Reel. The Reel sounded native because it used a trending sound. That sound is not cleared for ads. Swap to original voice or Sound Collection and export a new file. Existing-post promotion uses the audio on the post, so muting it only inside Ads Manager does not fix a baked-in track.
Effects and GIFs. A filter that looked fine on an organic Reel is not allowed on the ad media. Re-export without the effect. A sticker or GIF overlay can fail the same check.
Product tags. Tags that make an organic Reel shoppable can block promotion. Remove the tag, or upload a clean file and send the product through the ad destination instead of a tag on the media.
Old Reel. Media from before October 15, 2021 is called out in Meta’s setup notes. If the post is that old, cut a new export.
Personal account. Boost is unavailable. Switch to a professional account, connect the Page, then start again.
Already used as an ad. A Reel that has already run often cannot be boosted a second time. Upload it as new creative, or duplicate the campaign in Ads Manager instead of tapping Boost again.
A safe-zone miss is not a rejection by itself. Meta will approve a file with text under the button. It will just hide the text. Treat that as a fail anyway.
If the ad is approved and then limited, read the delivery status before you remake the video. Account spending limits, a payment failure, or an optimization event the pixel has never recorded will look like a creative problem and are not.
How the first 3 seconds are the ad
The placement is a swipe feed. The viewer does not owe the ad a second. Hook rate is 3-second views divided by impressions. It is the first number to read, because a weak open makes every later metric look bad.
Build the open as its own shot, not as the start of a longer thought.
- Say the result before the brand name.
- Put motion in the first frame. A static title card is a Feed habit.
- If you use on-screen text, put it in the center band and keep it under a short line. The viewer cannot read a sentence and listen to a different sentence.
- Match the spoken line to the text.
- Do not open on a logo, a podcast waveform, or “hey guys.”
When you test, change only the first 3 seconds. Same body, same offer, same button. If you change the offer and the hook together, you will not know which one moved the cost.
After a few thousand impressions, a hook rate under the mid-20s is a weak open for this placement. That is a working threshold, not a Meta guarantee. Beat it, then look at hold rate. If people stay 3 seconds and leave before the proof, the middle is long. Cut it. If they stay and do not click, the offer or the button is the problem.
Budget, learning, and when the test is over
Meta’s delivery needs events to leave learning. The usual mark is about 50 optimization events in a 7-day window. A purchase campaign at $15 a day will not collect 50 purchases unless the product is cheap and the page already converts.
- If you can afford 50 of the real event in a week, optimize for that event.
- If you cannot, optimize for the closest event you do collect, and treat the campaign as a creative test. Do not call a cheap landing-page view a cheap customer.
- Do not stack interests to help a small budget. Broad, with a clear file, is the better first ad set on Reels. The placement already selects for people watching this kind of video.
- Do not raise the budget by a large step in one edit. A large jump resets learning.
Three hooks, one body, one ad set, seven days, no edits unless rejected. On day 7 you have a verdict: one hook is good enough to keep, or none of them held and the next export needs a new open.
Vertical scaling means more budget on the winning ad set. Horizontal scaling means a new audience or a new placement with the same file. Both wait until one hook has a cost per result you can pay. Refresh that hook every 2–4 weeks, sooner if frequency climbs and click-through falls.
A worked example
A coach selling a ₹2,000 workshop wants leads, not awareness. The organic Reel that explained the workshop used a trending sound, so it cannot be boosted. They export a new 20-second 1080×1920 file with their own voice, captions in the center, and the price in the first line of text.
Campaign: Leads. Daily budget: ₹1,200. One ad set, Advantage+ placements, India, broad. Three ads, same body, three opens: the price, the outcome, a student line. Destination: a native lead form, so the test does not depend on a slow page.
Day 2, one ad is rejected for a sticker left on the export. They remove the sticker and resubmit that file only. They do not touch the other two. Day 6, the outcome open has the highest hook rate and the lowest cost per lead. The price open spent and did not hold. They pause the price open. They do not add a new interest. They let the outcome open run another week, then cut a new first 3 seconds against it.
That is a complete first test. It does not need a lookalike, a second placement campaign, or a new offer.
After publish
Check the Reels preview on a phone, not only the desktop mock. The bottom icons and the call-to-action button are larger on a real device than in a scaled preview.
Then leave it. The first day is review plus learning. The read is day 4 to day 7. Placement breakdown, if you used Advantage+, tells you whether Reels took the spend. A Reels-only ad set does not need that breakdown to answer the placement question.
If the ad is approved and spends nothing, the usual causes are a budget too low for the audience, an optimization event the pixel has never seen, or a placement set that the file cannot serve. Check the delivery error before you rebuild the video.
Comments on a boosted or promoted Reel behave like comments on an organic post. If the destination is a message instead of a landing page, the setup for that objective is in the Instagram click-to-DM ads playbook.
Once the Reel is approved, comments on it behave like comments on an organic post. InstantDM can reply to those comments with the link or the next step, so you are not copying replies by hand while the ad is spending.
Once a file has a cost you can pay, do not rebuild it.
- Keep the winning hook. Cut two new opens against it next month, not this week.
- If you used Advantage+, check the placement breakdown. If Reels took most of the spend and the cost is fine, leave it. If Feed took the spend, you still do not know whether a Reels-only ad set would work. That is a separate test, at its own budget.
- Promoting the existing post, once the audio is clean, keeps the comments. A new upload does not.
A Reel that won as a Trial is a candidate for a fresh export, not an automatic ad. How that handoff works is in how to scale Instagram Trial Reels with Meta ads. The audio, the tags, and the date still have to pass.
If you are creating the ad through the API rather than Ads Manager, the field list, eligible objectives, and the 90-second reuse rules are in the Reels ads Marketing API guide. The wider Instagram ad flows sit in the Instagram Ads API guides, under the Marketing API.
Sources
- Create Instagram Reels ads in Meta Ads Manager
- Boost an Instagram Reel
- About ads on Facebook Reels
- Best practices for Instagram video ads
- About text overlays and the safe zone for ads in Stories and Reels
- Reels ads, Marketing API
- Marketing API
- Instagram Ads API guides
- Use posts as ads
- Placement targeting
Safe-zone percentages follow Meta’s current Reels guidance: top 14%, bottom 35%, sides about 6%. Pixel rows apply that percentage to 1080×1920 and 1440×2560. Published cost-per-thousand ranges disagree across 2026 guides, so this page does not quote one. Creative moves the cost more than the placement does.