Instagram Scheduling TL;DR
You can schedule Instagram posts for free without hurting your algorithmic reach. As of 2026, any public account can schedule natively.
- Instagram App (Best for Solo Creators): Completely free in-app tool for photos, carousels, and Reels. You can queue up to 25 posts daily, up to 75 days out. Limit: No Stories or multi-account management.
- Meta Business Suite (Best for Desktop & Small Businesses): Free desktop planner that schedules to Facebook and Instagram simultaneously. Supports Stories, but will strip out interactive stickers (polls/questions). Requires a Professional account.
- Third-Party Tools (Best for Teams & Agencies): Tools like InstantDM(simplicity), Later (visual grid preview), or Planable (team approvals) remove the 75-day limit, track advanced analytics, and manage multiple profiles from one dashboard.
Pro-Tips
- Timing: Check Insights > Total Followers > Most active times to find your unique peak hours.
- Engagement: Don't ghost. Be active the first 30 minutes post-launch to reply to comments and boost early algorithmic signals.
Introduction:
What is Instagram Scheduling?
Instagram scheduling is the process of planning, creating, and setting up your social media content in advance to automatically publish at a specific date and time. Instead of manually hitting "Share" the moment you want a post to go live, you pre-load your media, captions, and hashtags into a software queue. This allows you to maintain a consistent online presence, reach your audience when they are most active, and manage your workflow without being tied to your phone 24/7.
While the core concept is simple, the right approach depends heavily on your content format, account type, and daily workflow. What works perfectly for a solo creator might completely bottleneck a growing brand or agency.
Quick Answer: Can You Plan Instagram Posts?
Here’s the full comparison of all methods available:
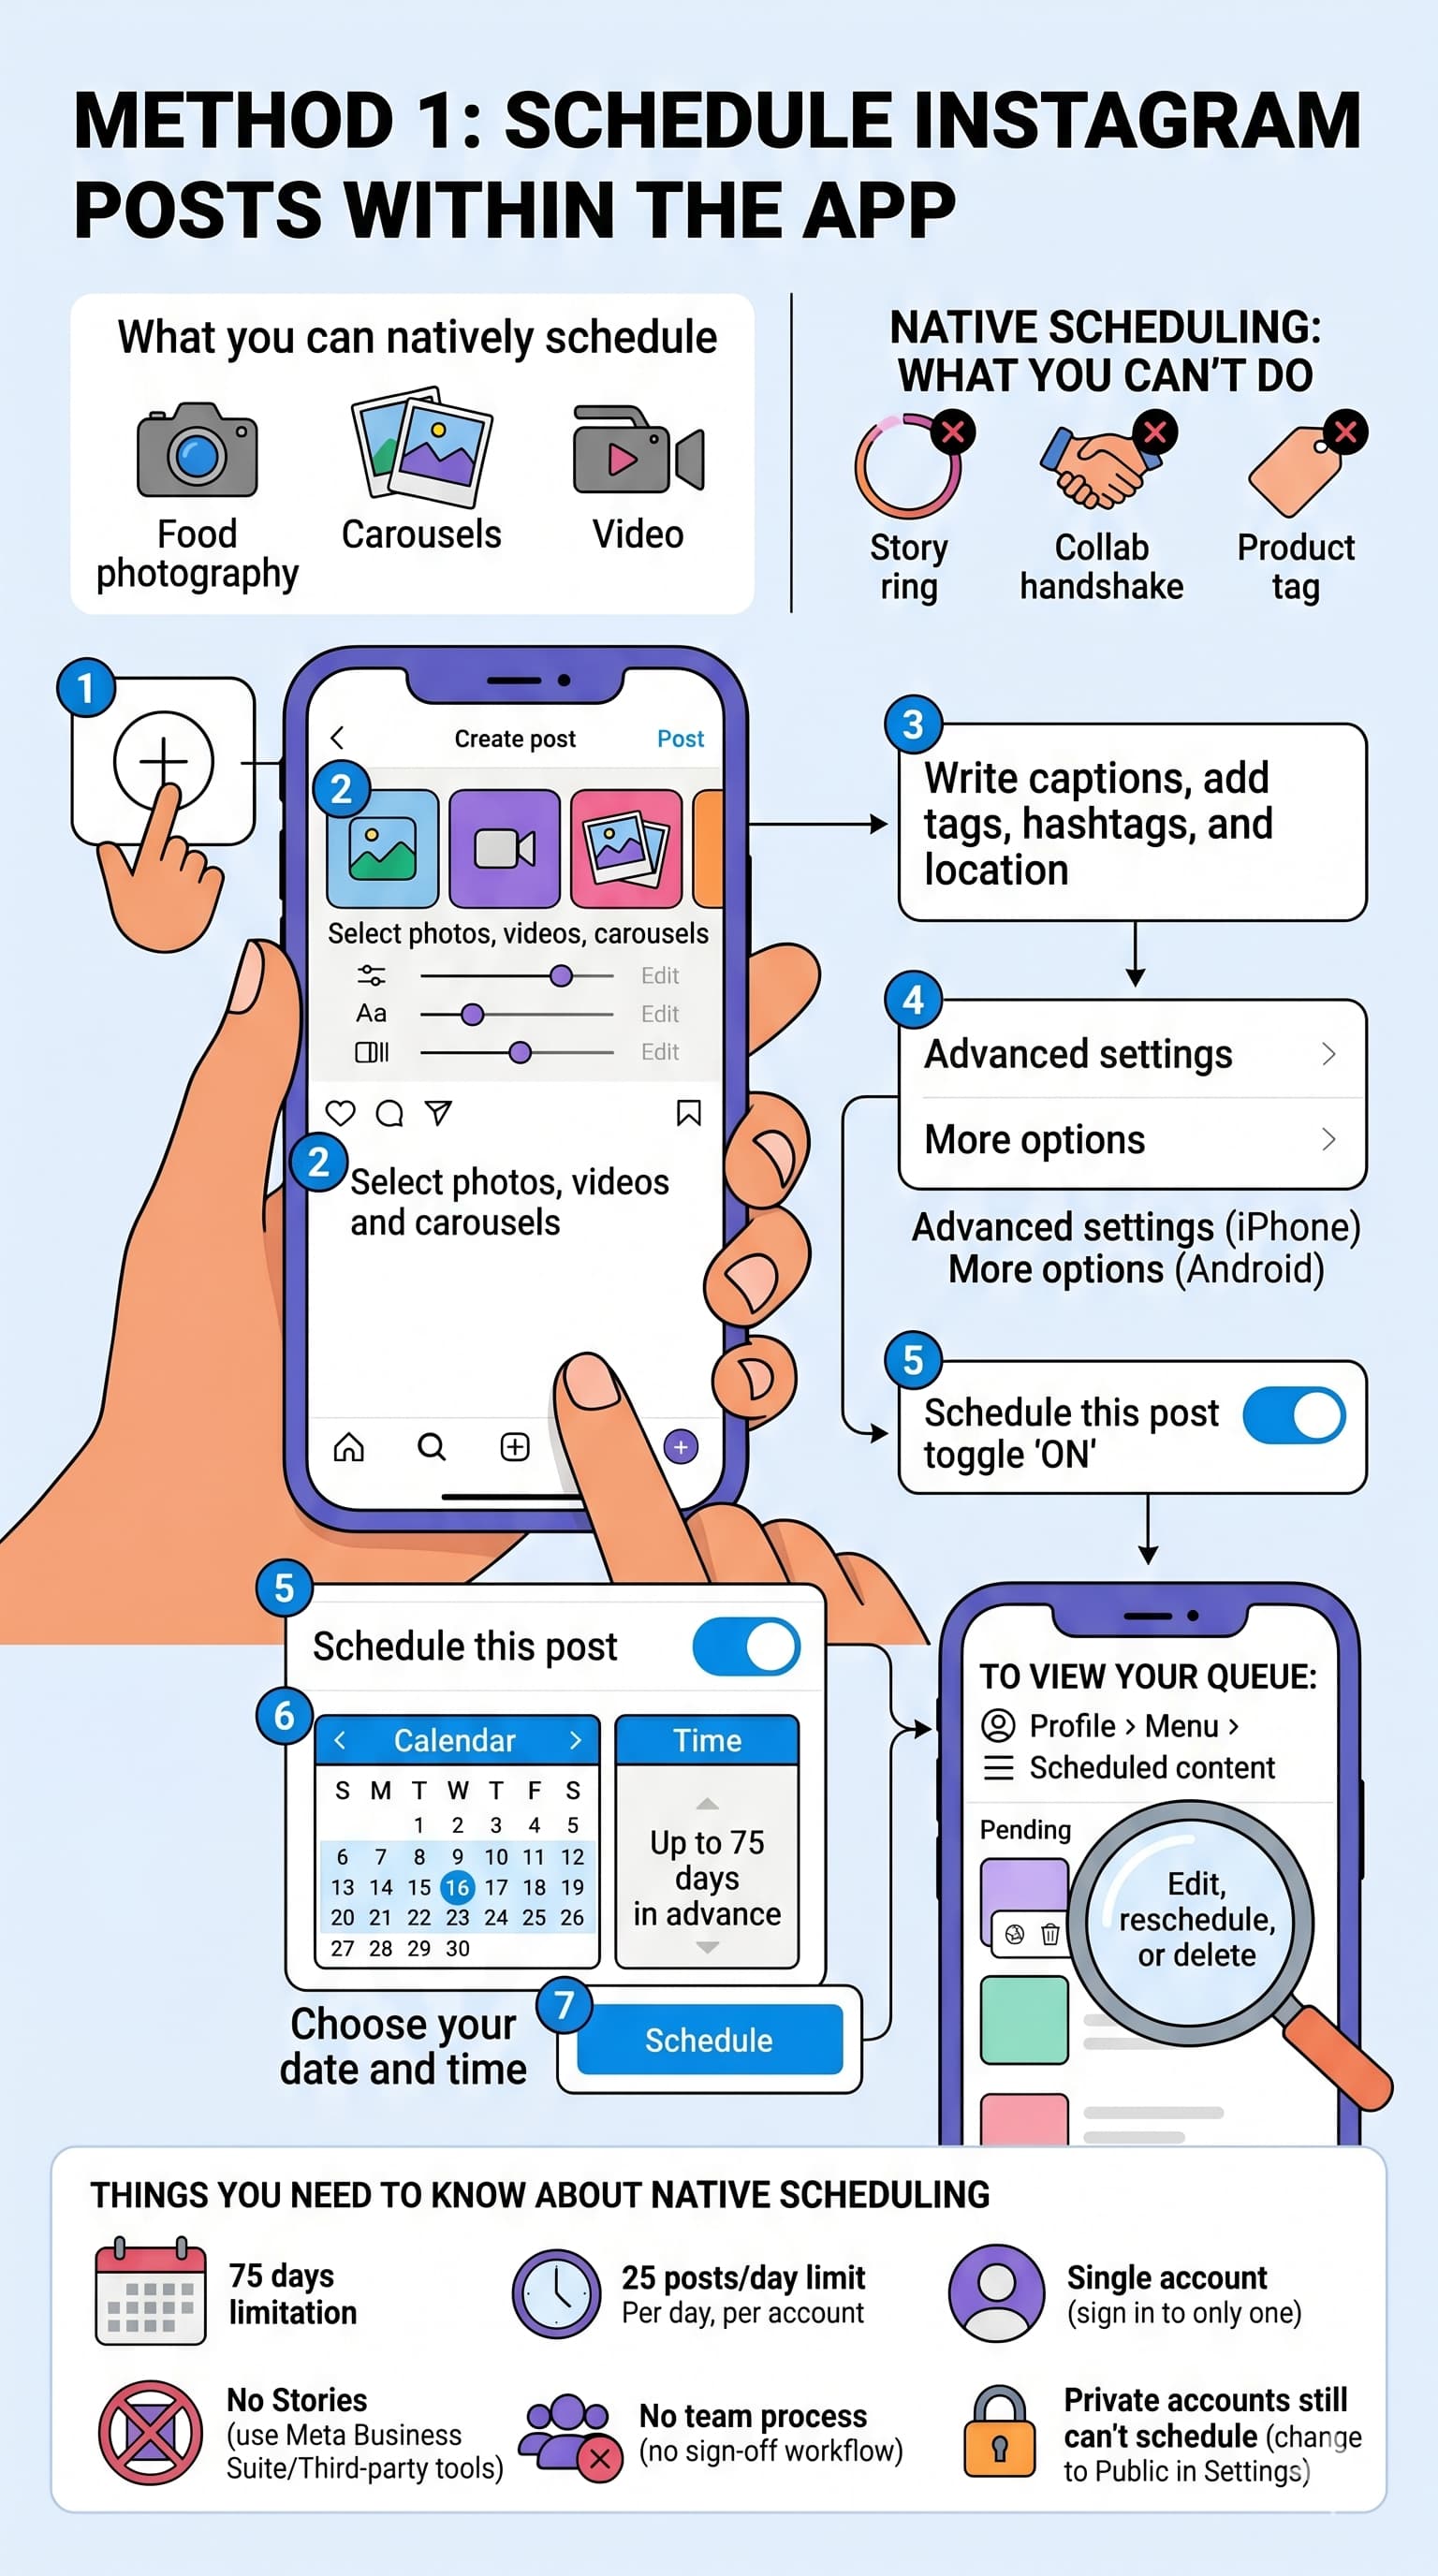
Method 1: Schedule Instagram Posts Within the App
Public Instagram accounts can schedule posts directly since March 2026, you no longer must have a Business or Creator account to schedule natively. This is Instagram’s biggest change scheduling in years and most guides haven't been updated to reflect that.
What you can natively schedule:
- Food photography
- Carousels (multi-photo posts)
- Videos
Native scheduling: what you can’t do:
- Stories on Instagram
- Collab posts (collab feature)
- Posts with product tags or fundraisers
- Private account posts
- "If you prefer a step-by-step visual walkthrough to ensure you're doing it correctly, you can watch this quick tutorial on how to schedule Instagram posts natively [00:46]."
Instagram App: How to set up a post
Step 1. Open the search engine. Open Instagram and tap the + icon at the top or bottom of the screen.
Step 2. Choose your photo, video or carousel. Edit, add filters, crop, and change the brightness.
Step 3 . Write your own caption. Add hashtags, location, tags and alt text
Step 4. Before you tap Share, tap More options (Android) or Advanced settings (iPhone).
Step 5. Turn on the “Schedule this post” toggle.
Step 6. Choose your date and time. Book up to 75 days in advance (Maximum of 25 posts per day, per account.
Step 7. Tap the back arrow and then tap Schedule (not Share).
Step 8. To view your queue: go to your Profile > Menu ( ) > ☰ Scheduled content. From this point you can edit reschedule or delete any post before it goes live.
Things you need to know about native scheduling
- 75 days limitation: Do not book more than 75 days from today.
- 25 posts/day limit: Instagram limits the number of scheduled posts that can be queued up each day, per account .
- No Stories: Schedule Stories using Meta Business Suite or another third-party tool.
- Single account: You can sign in to only one account at a time.
- No team process: No way to get sign-off from a manager, client or teammate before a magazine is published.
- Private accounts still can't schedule: Change your account to Public in Settings to unlock scheduling.
 Method 2: How to Schedule Instagram Posts Using Meta on Desktop Business Suite.
If you want to work from a computer — or you’re looking to schedule Stories — Meta Business Suite is your free will. It’s Meta’s own platform, it works on any desktop browser, and you can plan Instagram and Facebook content, side by side.
Prerequisites:
- Professional Instagram account (Business/Creator)
- Your Instagram account must be linked to a Facebook page
How to Schedule a Post Using Meta Business Suite (Step by Step)
- Step One. business.facebook.com Sign in
- Step 2: Click either Content or Planner on the left sidebar.
- Step 3. Click Create post (or Create reel / Create story from the drop down arrow).
- Step 4 . Choose your Instagram account under “Post to.” If you want to crosspost, add Facebook, too.
- 5 . Step Upload your media Write your caption Add hashtags, mentions, place
- Step 6.7. In the lower right panel, instead of publishing now, turn on Set date and time.
- Step 7. Select your date & time (up to 75 days out).
- Step 8. See exactly how it will look on Instagram in the live preview on the right.
- Step 9. Click Schedule. Your post shows up in Content → Posts and Reels in the left sidebar.
How to Schedule Instagram Stories in Meta Business Suite
- In Content, select the drop-down arrow next to “Create post” → Create story
- Upload your picture or video
- Add simple overlays, text or filters *Note: Interactive elements like polls won’t transfer over
- Choose your Instagram account and choose the date and time
- Schedule Click
⚠️Important: Interactive Story elements (polls, questions, countdown stickers) are not supported when scheduling Stories in Meta Business Suite. They will be stripped out at publish date
When Meta Business Suite Is Not Enough
Meta Business Suite is solid for one person managing one Instagram account. It cuts up when
- You have more than one Instagram account
- Posts must be approved by a client or teammate before they go live
- You want to visualise your grid layout before committing to a schedule
- You can only schedule posts up to 75 days ahead
- You want analytics, recurring posts, or a shared content calendar;
If any of that rings true for you, you need a third-party scheduler.
Method 3: Use Third-Party Tools to Schedule Instagram Posts
Third party Instagram schedulers circumvent the native tool limitations. They are designed for people who take Instagram seriously, whether they have one account or fifty.
What Native Options Can't Do That Third Party Tools Can
- Schedule Instagram Stories, Reels, carousels and feed posts — all formats
- Plan content further than 75 days
- Manage multiple Instagram accounts from a single dashboard
- Obtain posts approval from client/team prior to publishing
- See how posts look on the feed AND in your profile grid
- Review performance and modify schedule based on real data
- Schedule recurring or recurring posts to be re-published automatically
- Schedule the first comment (good for keeping hashtags out of the caption)
Best Third Party Instagram Scheduling Tools 2026
1. Buffer — Best for ease of use
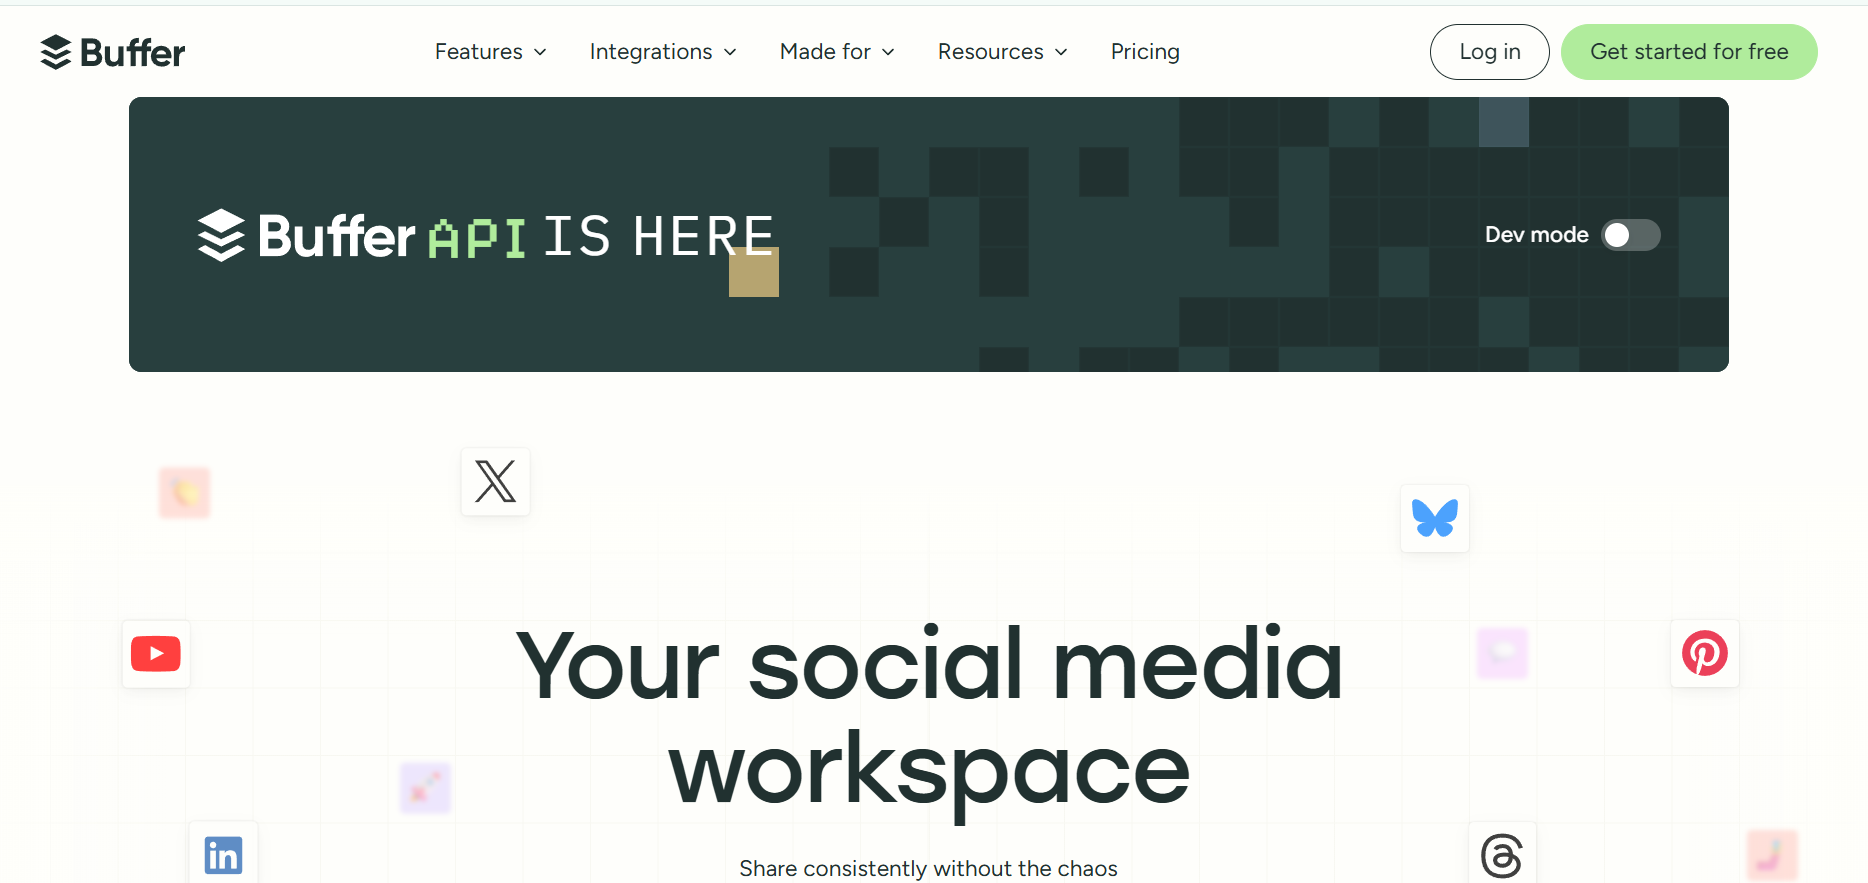 Buffer is the simplest choice for creators and small businesses who just want to schedule without a learning curve. It supports Instagram feed posts, Reels, and Stories, and displays a simple Dashboard performance. Its free plan allows up to 3 channels with 10 scheduled posts each — a good starting point.
- Best for: Individual creators, freelancers, small brands
- Pricing: Free plan available. Billed From $6/month per channel.
2. Later — Ideal for visual planning and grid preview
 Later was made for Instagram. See how it works with its drag-and-drop visual planner. Before anything goes live your grid will look like a game-changer for aesthetic-focused brands. It also includes a link-in-bio tool and robust media library management.
- Best for: visual brands, influencers, lifestyle accounts.
- Pricing: 14 days free trial. Paid plans from $15/month. $18.75/mo. (annual billing).
3. Hootsuite — Best for big teams and high-volume management
 Hootsuite is the enterprise level pick. It supports Instagram and all the major social networks. includes a powerful unified inbox for comments and DMs, deep analytics and team assignment features. It’s too much for one account, but great at scale.
- Best for: Large marketing teams, enterprises, agencies with high-volume
- Pricing: 30-day free trial. Paid plans from $99/month (billed annually).
4. Sprout Social — Best for analytics & reporting
 Sprout Social pairs scheduling with serious data. Its ViralPost feature automatically calculates the most effective posting times for your unique audience, not generic “best times” charts. It also contains a social inbox like a CRM and a custom report builder for clients.
- Best for: marketers who like their data, brands that need to report
- Pricing: 30 day free trial. Plans starting at $249/month.
5. Planable – Best for agency workflows & approvals
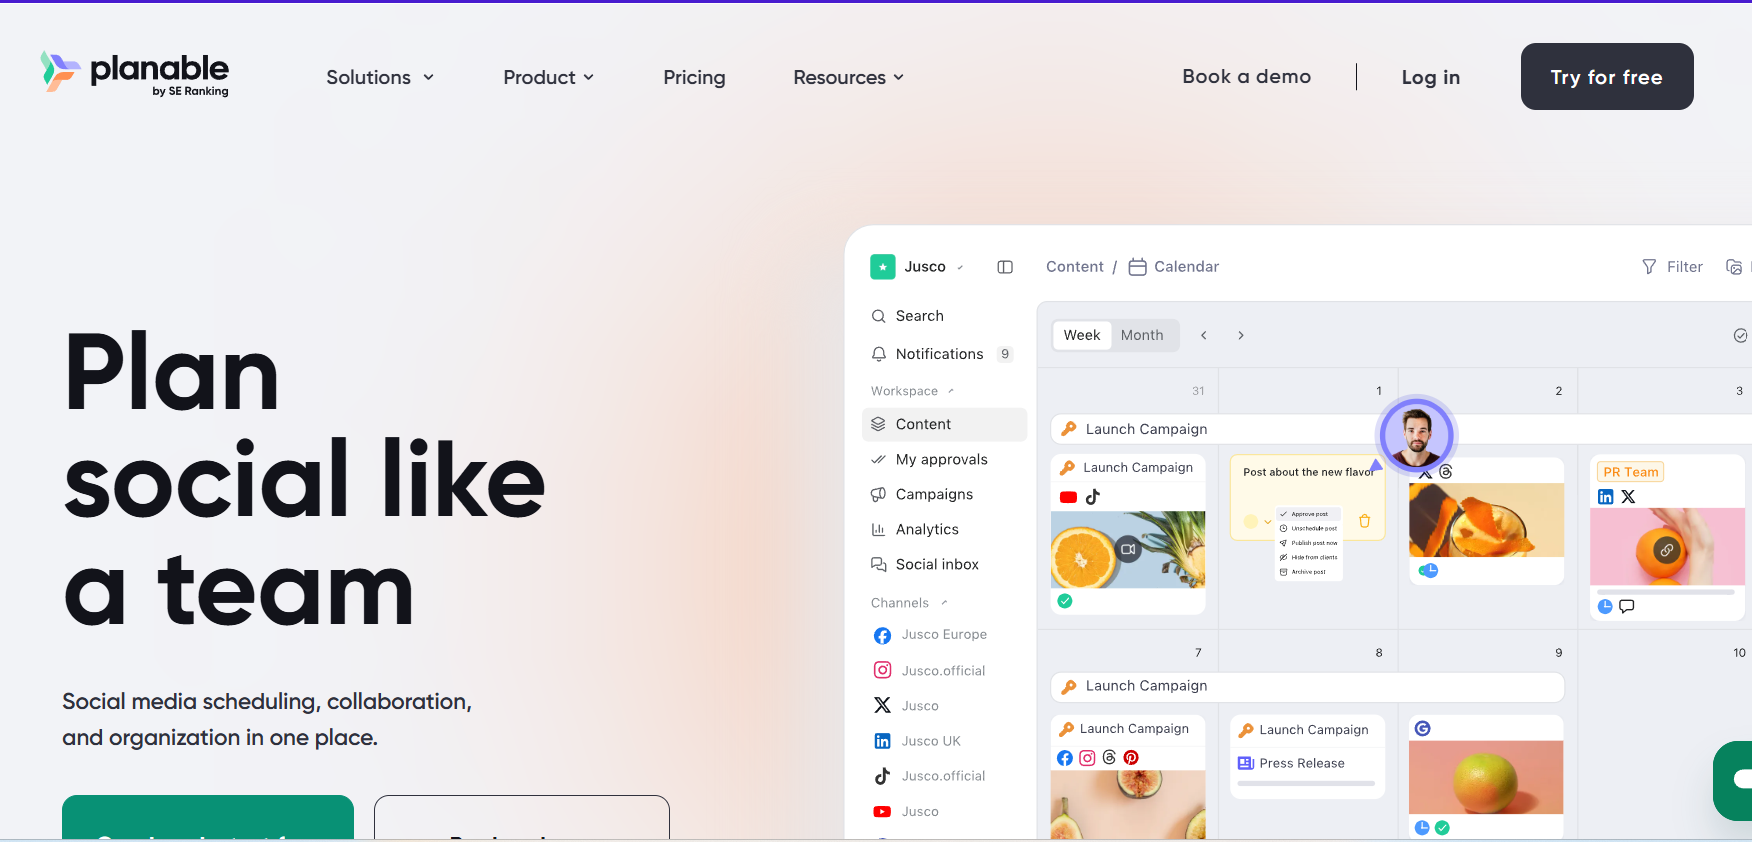 Planable is designed for teams that have a content approval process. Each post lives in a common workspace for your team and client to view, comment and approve before it goes live. It supports all Instagram formats, has a grid view and multi-account scheduling is handled cleanly.
- Best for: social media agencies, in-house teams with approval workflows
- Pricing: Free trial (50 posts). From $33/workspace/month (billed annually).
6. InstantDM — Best for scheduling posts with built-in DM automation
 InstantDM does something no other scheduler on this list does: it lets you schedule a post and set up its automation in the same workflow. Instead of publishing a Reel in one tool and then jumping to a separate automation platform to set up comment-triggered DMs, you do both in one place — at the same time.
Here's how it works in practice: you upload your Reel or image, write your caption, pick a keyword (say, "LINK"), and configure the auto-DM that fires when someone comments that word. Then you schedule it. When the post goes live, the automation activates simultaneously — no manual toggling, no coordination between tools, no missed triggers.
- Key features for scheduling:Schedule feed posts, Reels, and carousels
- Visual feed preview — drag and sort to make sure your grid looks right before anything publishes
- Attach a comment-triggered Auto DM to any scheduled post
- Works on iOS and Android via the InstantDM app
- Built on Meta's official API (Meta Business Partner)
- 30,000+ creators and brands already using it
What makes it different: Every other scheduler treats posting and engagement automation as separate jobs. InstantDM treats them as one — because a post without a plan to convert the comments is a missed opportunity. Best for: Creators, e-commerce brands, coaches, and businesses who use comment-to-DM funnels to drive sales or leads Pricing: 7-day free trial, no credit card required. Plans from $9.99/month (Legend Pro) and $24.99/month (Trendsetter for high-volume accounts and agencies).
Does Timing Your Instagram Posts Affect Your Reach?
This is one of the most googled questions about Instagram scheduling and the answer is: Nope. Scheduling doesn’t hurt your reach or engagement.
Instagram’s algorithm ranks posts based on:
- How relevant is the content to each viewer
- What early signals of engagement are (comments, saves, share in 30-60 minutes)
- How followers actively seek your content
- Post form and display time
How did you publish it. Did you hit Share yourself or did you have a scheduler do it for you? is not a ranking factor. What affects reach is posting when your audience is not online, That’s why scheduling is so helpful. You can post at 7 AM when your followers are most active active even when you are asleep.
Bottom line: A scheduled post, when timed well, will win over a manually published post at at the wrong time, every single time.
What Types of Instagram Posts Can You Schedule?
What’s the Best Time to Post on Instagram?
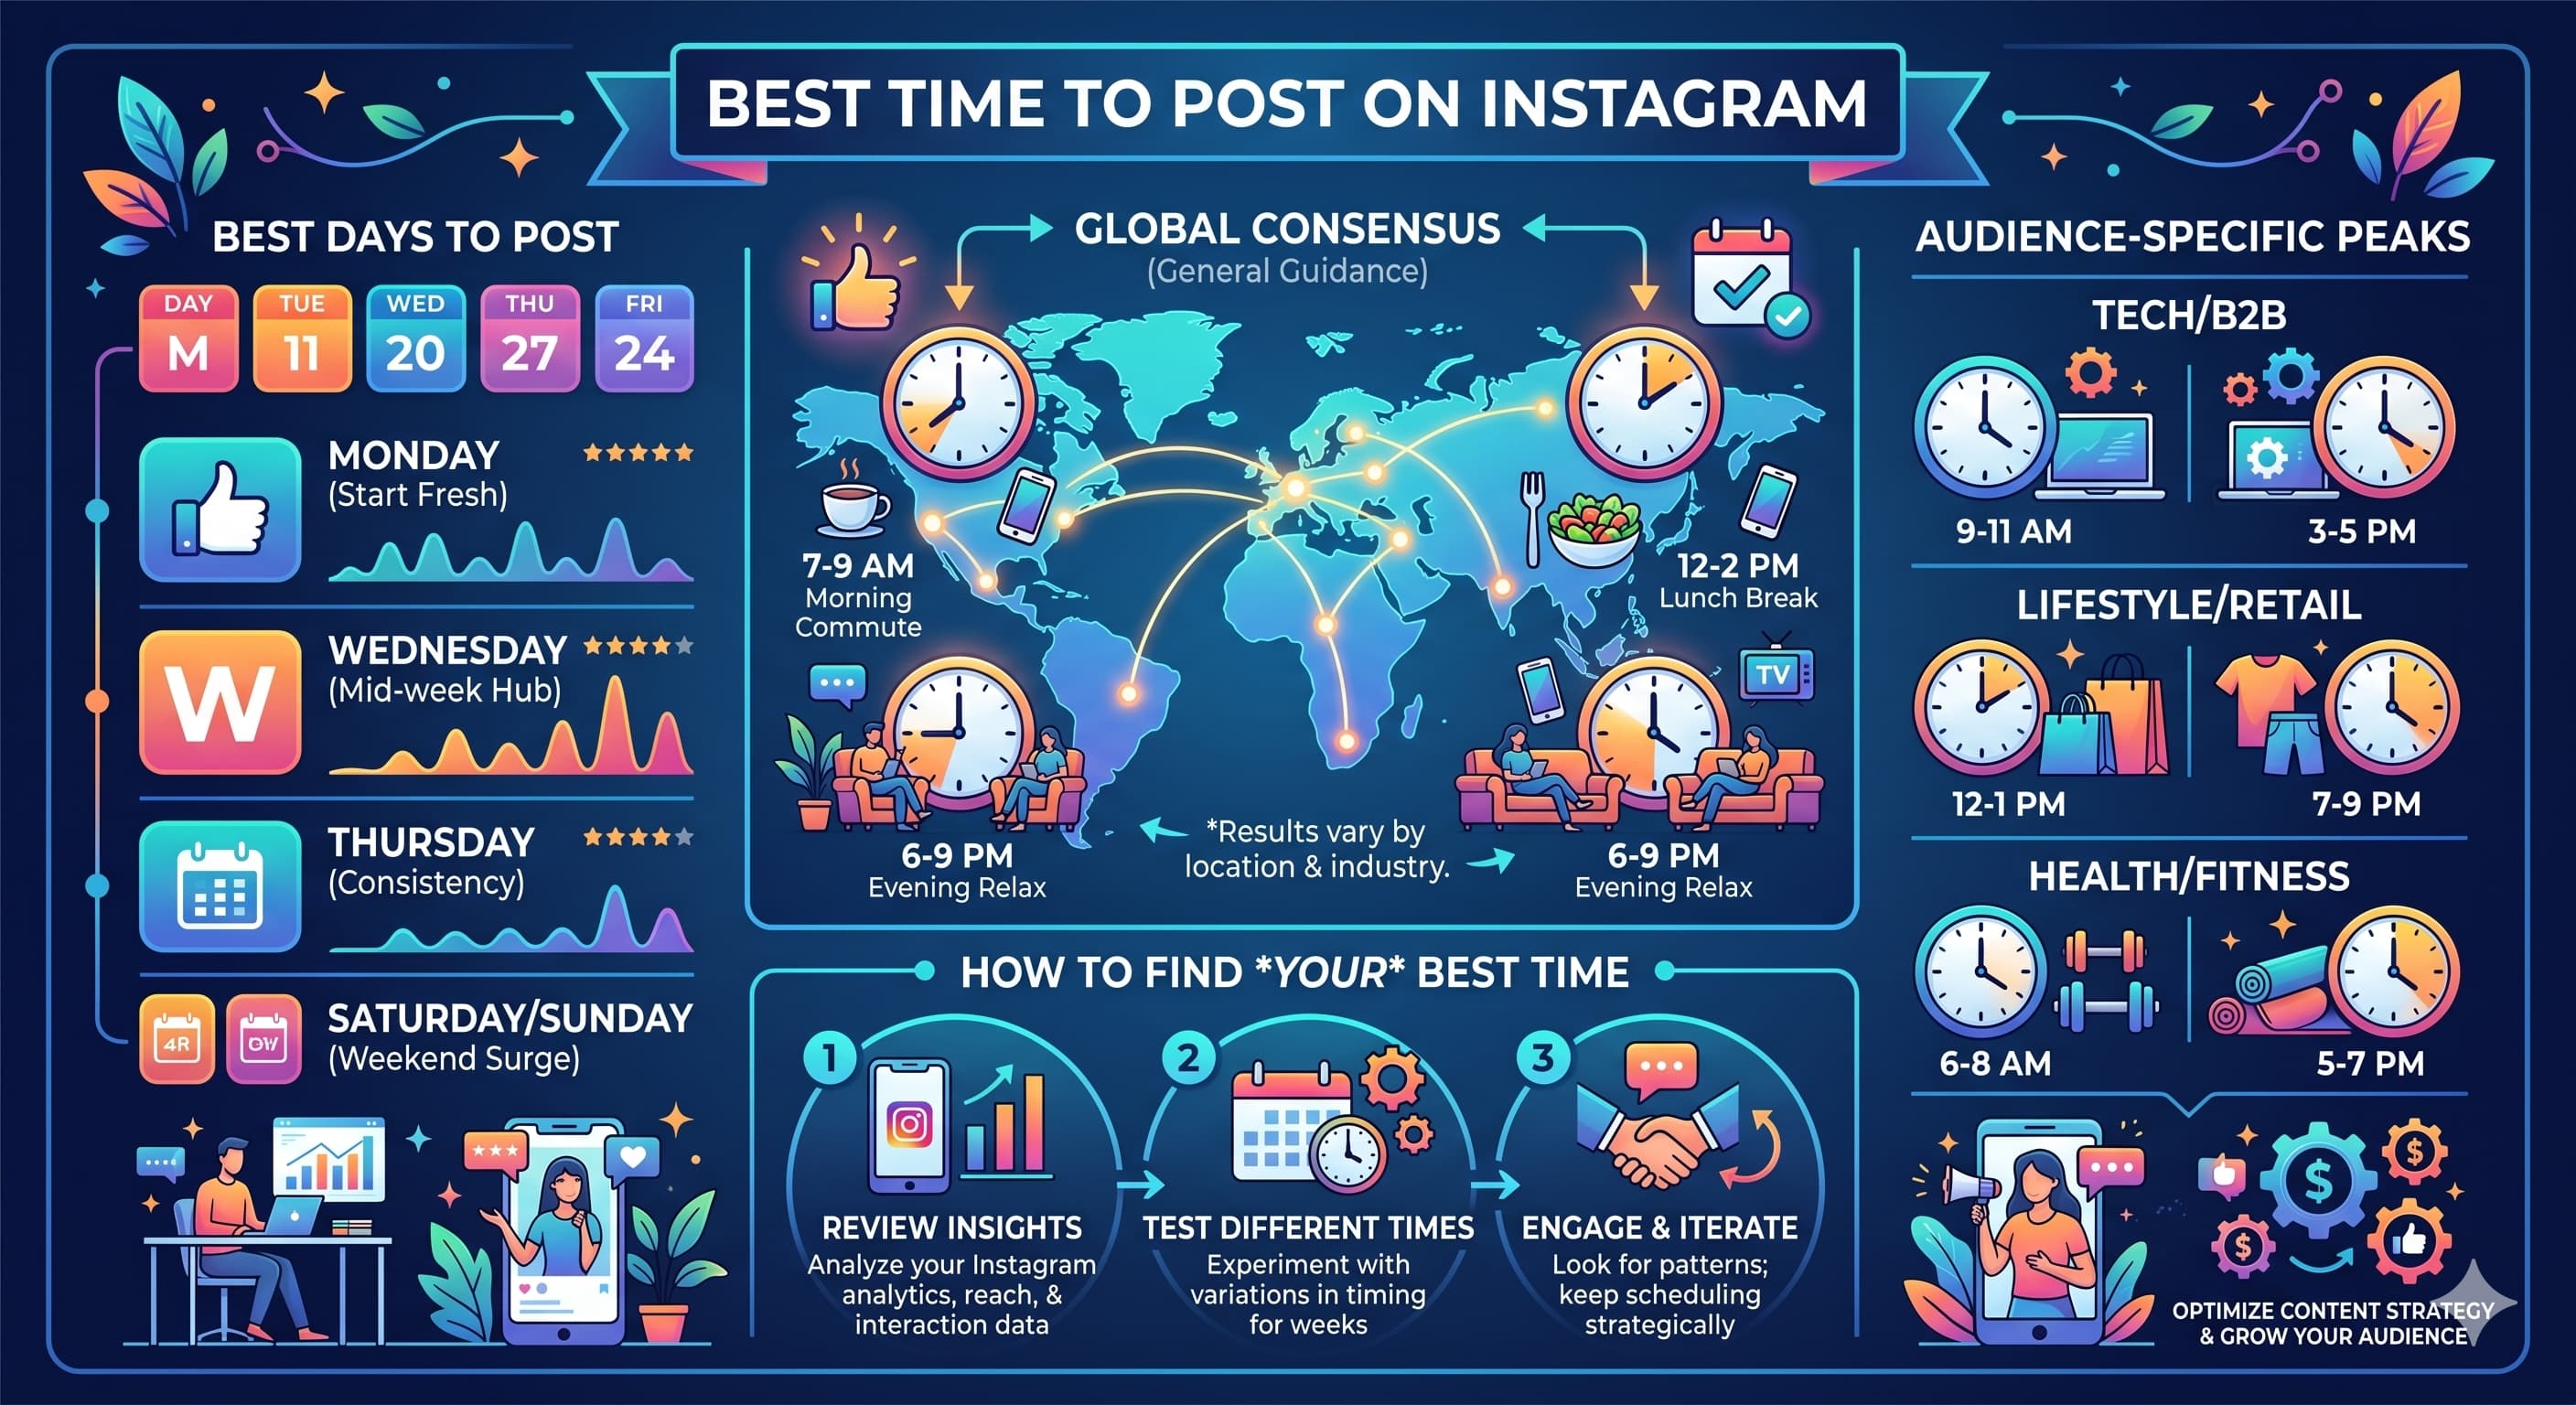 Generic “best time to post” charts (i.e. “post at 11 AM on Wednesdays”) are based on aggregated industry data that may not be relevant to your particular audience.
How to actually find your best time:
- Step 1. Check out your Instagram Insights. For a Professional account, go to your profile → Insights → Total followers → scroll down to “Most active times”. Here you can see on what days and times your followers are mainly on-line.
- 2 week test period. Post 3-4 times a week at different times morning, midday, evening. Look at engagement rates pre and post the testing period.
- Watch for early signs of engagement. First 30-60 mins after a post goes live is important primarily for algorithmic delivery. Schedule at the top of your peak window not the middle.
- Step 4. Tweak by format. Reels are usually good in the evening when people are relaxing. People like to save carousel educational posts mid-day breaks Stories peak in the morning.
General benchmarks as a guide (adjust according to your own data):
- Monday-Friday 7-9 a.m., 12-1 p.m., 7-9 p.m.
- Saturday: 9AM – 11AM
- Sunday: 10 AM–12 PM
Workflow & Team Collaboration Suitability
Content Format Limitations
What Are the Best Times to Post on Instagram (Best Practices)
1. Keep content creation separate from scheduling
Don’t schedule captions on the day you write them. one day batch-create captions, review them the then next schedule You’ll see weak hooks, overused hashtags and repetitive language you’d skip at the moment.
2. Build a queue of evergreen posts
Keep a library of 5-10 evergreen posts (tips, FAQs, brand stories, testimonials) that aren’t attached to any date or any campaign. If your campaign content gets delayed or a scheduled post doesn’t go out, you got backup at the ready.
3. Imagine your grid before you commit
If your brand identity on Instagram is based on a consistent aesthetic, plan out your next 9–12 posts in a grid planner before they are scheduled. Exchanging two tiles on a planning board is much easier than to delete post after posting.
4. Schedule the first comment and the post
Hashtags in the first comment do almost as well as hashtags in the caption and they keep your caption more neat and readable. Most third party tools let you schedule the first comment along with the post.
5. Weekly review of your calendar
Check out the next 7 days every Monday. Look for gaps, duplicate themes, or posts that are no longer make sense given recent news or happenings. A 10-minute weekly review avoids last-minute scrambles
6. Get approval checkpoints set up before launching anything.
If there’s someone besides you who needs to approve content before it publishes — a manager, client or brand team—and build that buffer into the schedule. “It was already scheduled” is not a good excuse for a post that should not have been published.
7. Don't ghost, plan
Your scheduled post is live now, and the engagement window is open for the next hour. Intend to be available to reply to early comments — this tells the algorithm that the post is worth giving away more.
Common Instagram scheduling issues (and how to fix Them)
 Issue: My scheduled post didn't publish.
Check these individually:
- Is the tool still connected to your Instagram account? Reconnect if needed
- Is the media file in right format and aspect ratio? Instagram rejects files that don’t meet the specs
- Did you hit the 25 posts per day limit?
- Is your account on private? Private accounts are not allowed to publish via API.
- Instagram reported suspicious activity on the account? Look for any login or security alerts.
Problem: I do not see the 'Schedule' option in Instagram app.
Your account is probably private. Settings → Account Privacy → turn off "Private account.” The scheduling option is only available for public accounts.
Issue: The poll/question sticker on My Story disappeared after scheduling.
Interactive Story elements are removed when scheduled through Meta Business Suite. Take a Or you can use a third-party tool that allows direct Story publishing with sticker preservation, or publish Stories handbook.
Problem: My post appears different on the grid than I thought it would.
Preview your grid before scheduling — especially for carousel posts and Reels covers. Most Third-party tools include a grid preview – give it a try.
The Bottom Line: Which Method Is Right For You?
- You have one account and want to keep things simple → Go with the native Instagram app scheduler. It is free, built in and requires no setup.
- You want to schedule Stories or want a desktop experience → Use Meta Business Suite. Free, and supports more formats.
- Use a third-party tool if you have multiple accounts, or if you’re working with a team Buffer or Later for smaller operations Hootsuite or Sprout Social at scale Planable if approvals are your choke point.
- Developer or enterprise → Full control with Meta's Content Publishing API and without limit.
The best scheduler isn’t the one with the most features — it’s the one you’ll actually use consistently. The one thing Instagram’s algorithm rewards more than anything else is consistency.